Even though I love all of my flower beds, it's my container plantings that really dress up the areas around our house. It's fun planting containers for our front porch, on the deck, and just here and there.
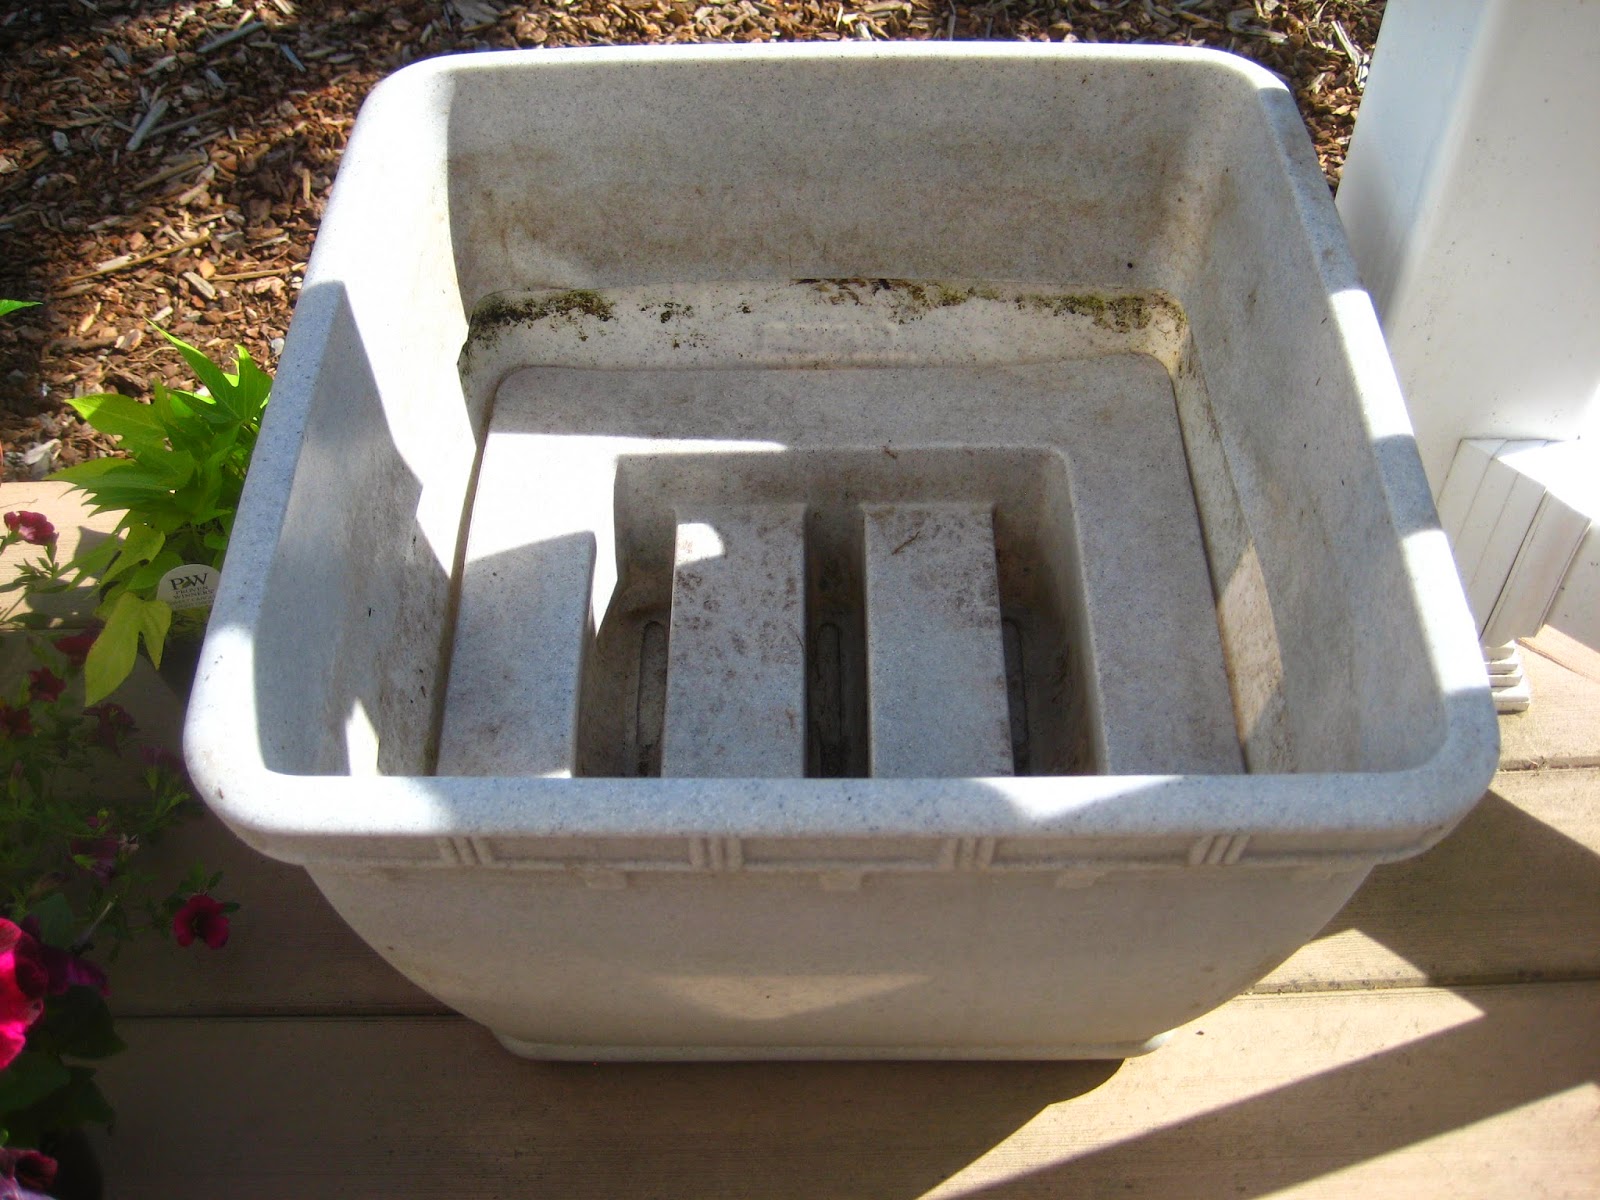
My favorite types of containers are the self-watering ones that are widely available these days. I bought three large self-watering pots from Gardener's Supply several years ago and they work great. The pots have large water reservoirs in the bottom which keep the potting soil damp, thus keeping plant roots very happy.
Yesterday, I decided it was safe enough to plant two of the large containers for our deck. According to the 10-day forecast for Spokane, the lows will be in the 40s and even the low 50s. Wow!
Here are the supplies you'll need.
I recently purchased annuals from greenhouses around town and it was really fun arranging them in the pots. Here's are the steps you go through when planting containers, including self-watering ones:
1. Plants: The most attractive pots have a thriller, a filler and a spiller.
The thriller is the main focus of the pot, usually has a bit of height to it and will take up the most room in the container. In my case, that was the Purple Fountain Grass (Pennisetum setaceum 'Rubrum'). I love these plants! They get about 3 feet tall in containers and have purple inflorescences (flower stalks) during the summer and fall. They waft and rustle pleasantly in the breeze.
The fillers are Lantana 'Malibu', Dahlia 'Dreamy Nights' and Sweetunia 'Johnny Flame'. They are what fill in the gaps between the plants within the container.
The spillers in each of my pots are Sweet Potato Vine 'Sweet Caroline Light Green' and Million Bells (Calibrachoa) MiniFamous 'Compact Purple'.
So that's a total of 6 plants in one pot! But that's the great thing about growing annuals in containers: you can break all the rules and squash them all together for a fabulous display. After all, they're going to die when we get a killing frost this fall.
2. Soil: Choose a soil-less potting mix, preferably one that has moisture-retaining polymers in it and a slow-release fertilizer, if possible. Don't use garden soil in your containers because it can container harmful bacteria plus it will compact really easily, making it hard for the plants to grow.
Here's the area where roots reach down toward the water.
3. Container: Select a large container that will hold a lot of soil. The more soil there is, the more easily the container will retain its moisture. Fill the pot with soil up to about 3 inches from the rim. Again, I like self-watering containers because they water the plants over several days without my having to worry about it. That doesn't mean you shouldn't check on the moisture in the pot, though, by poking a finger down into the potting soil.
Plant the thriller first.
4. Technique: I plant the thriller first (see photo at right) so I know it has enough room and is in the right spot. Then I plant the spillers at the edges of the pots, and finally, the fillers. Always press the potting soil around the plants well so there aren't any air pockets. Adjust the soil level as needed. Don't let any parts of the root balls become exposed to the air because they'll dry out very quickly.
5. Fertilizer: If the potting soil doesn't already container slow-release fertilizer, I like to sprinkle a little Osmocote onto the surface of the soil. Also note that you should do this again in a month or so (read the label) because the plants need food to go through another flush or two of blooms.
6. Just add water: Water in the plants well over the first few days to make sure the potting soil is holding the moisture well. If you're using a self-watering container, fill up the water reservoir at the bottom and check this over the first few days. The initial goal is to get the potting soil pretty saturated because you don't want the plants to become stressed from drying out. Also adjust the soil level if needed, since watering can cause the soil to compress downward.
OK, that's it! Growing plants in containers is great fun. If you haven't done this before, I hope you'll give it a try. Remember that you can click on any of the photos in order to see a larger, more detailed view.